With more and more marine electronics using Ethernet networking onboard boats, being able to assemble RJ45 Connectors is a useful skill to have. This week we were aboard a 50ft yacht on the Hamble that was having problems accessing our WL510 long range Wi-Fi adaptor. The WL510 was connected to our iNavConnect wireless router and by looking at the iNavConnect web interface, on a browser, we were able to confirm that it was not getting an IP address from the WL510 on its WAN socket.
First step was to connect a PC directly to the WL510, using a spare network cable and on doing this the PC immediately got an IP address (in the 192.168.10.xxx range) from the WL510.
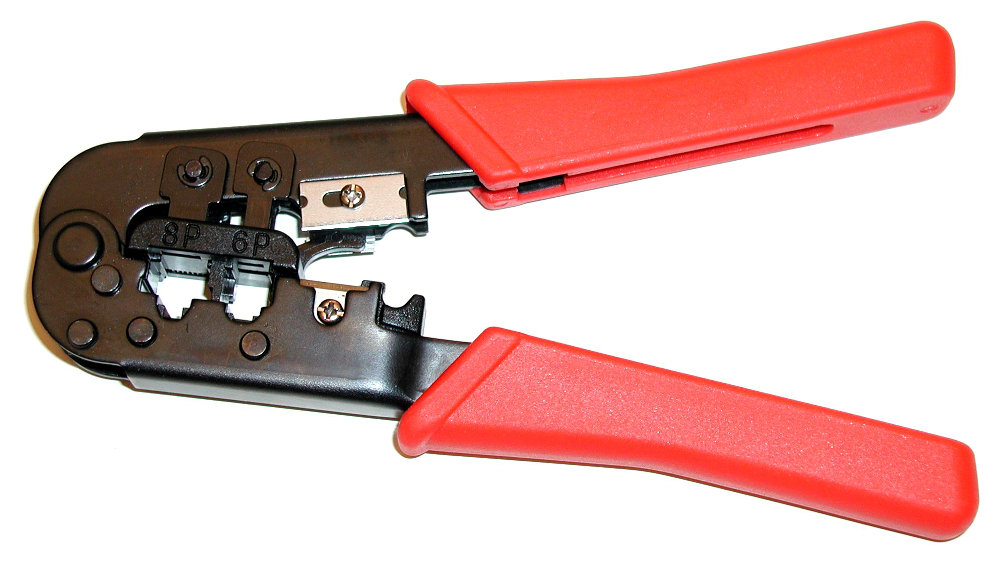
On further investigation, we found that the installer had run a long network cable between the iNavConnect and the WL510 and it was this cable that was causing the problem. Careful inspection of the RJ45 connectors showed that the connections between the wires and the RJ45 IDC connector (insulation displacement connection) had not been made correctly. Talking to the installer, it was clear that despite using the right crimping tool and new RJ45 connectors from popular UK reseller Maplins, the correct assembly procedure had not been followed.
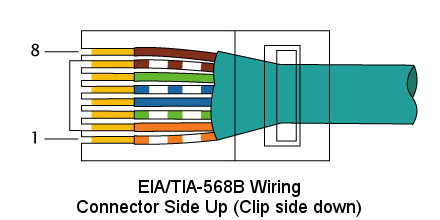
The image above shows the type of popular RJ45 connector used and it features a small wire guide through which you insert the eight wires of the Cat5 or CAT6 network cable. It is important to wire the connector as per the international EIA/TIA-568B specification as shown in the image below.
The first step is to poke the cable through the plastic connector cover (if you are using one). It is probably the most common mistake that people make and it is so frustrating if you finish making the cable and find that you forgot this step, as you cannot fit a cover to an assembled connector unless it is already on the cable.
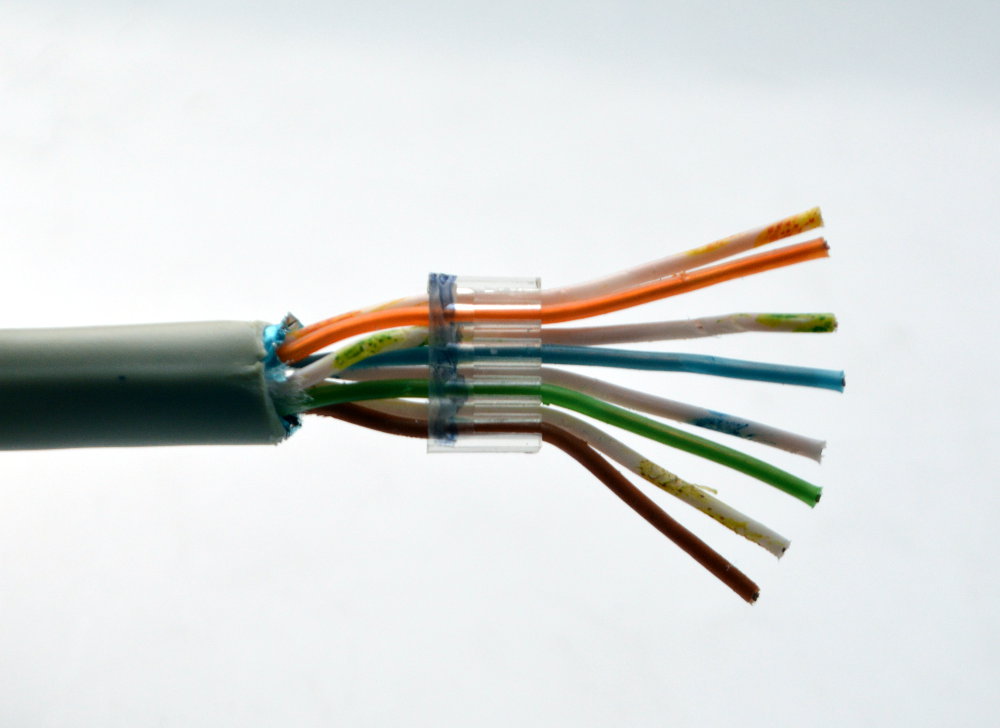
Carefully remove the outer insulation of the network cable and the foil shield if you are using a shielded cable (recommended for extra mechanical strength rather than electrical properties). Be very careful not to cut/damage the individual wires. Once the outer insulation (and shield) are removed, untwist the pairs of wire, spreading them out and arranging them in the order shown above. Now insert each wire in to the wire guide in the correct order, noting the bevel on the guide which needs to point upwards towards the connectors.
A good tip is to mark the top edge of the bevel on the wire guide with a black marker pen, so that you can see it when you insert it in to the main connector. Push the wires in to the wire guide as far as you can, so that the wire guide is as close to the outer cable insulation as possible.
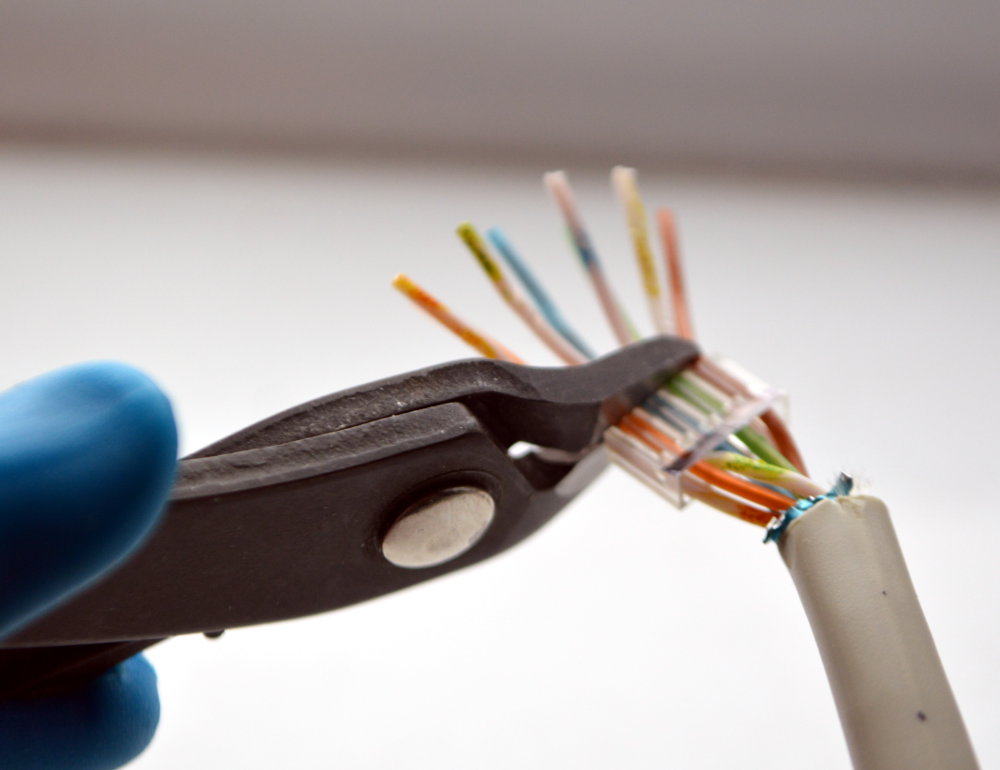
Now trim the wires as close to the wire guide as you can using side cutters.
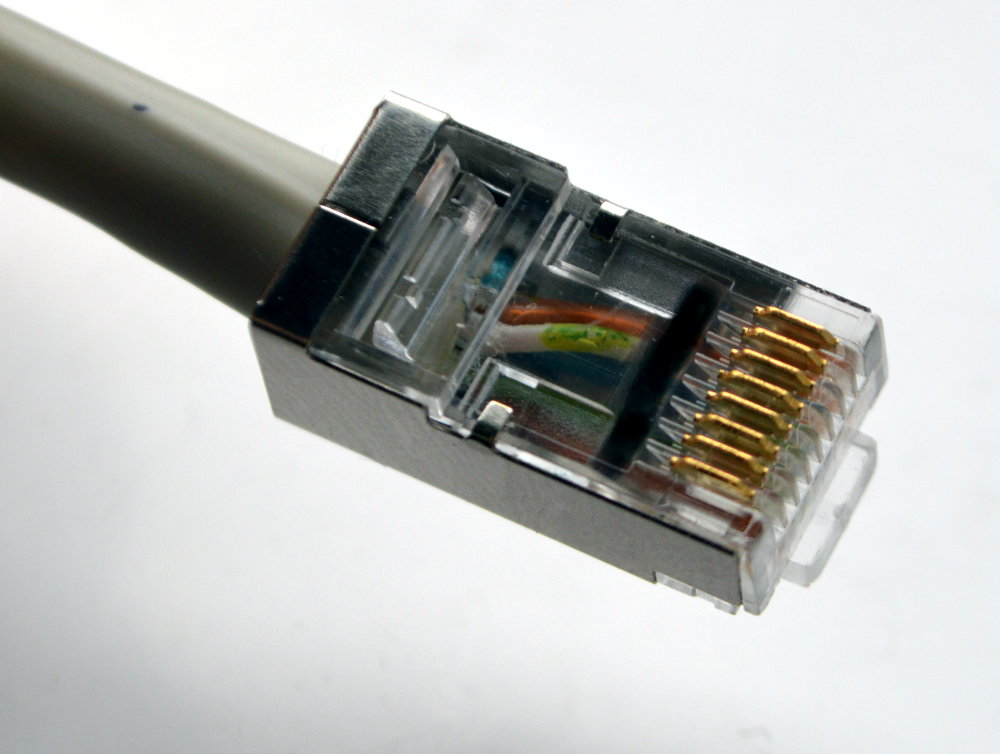
Now insert the wire guide in to the main connector, ensuring that the bevel you have marked with the black pen, is facing upwards towards the gold connectors. Push the wire guide in to the connector as far as possible and it should end up right underneath the connectors with the black bevel visible just behind the gold connectors.
Once you are sure that the cable and wire guide are pushed in as far as you can go, use a proper RJ45 crimp tool to compress the IDC connectors, forcing them down so that they cut through the insulation on each wire and make good electrical connections.
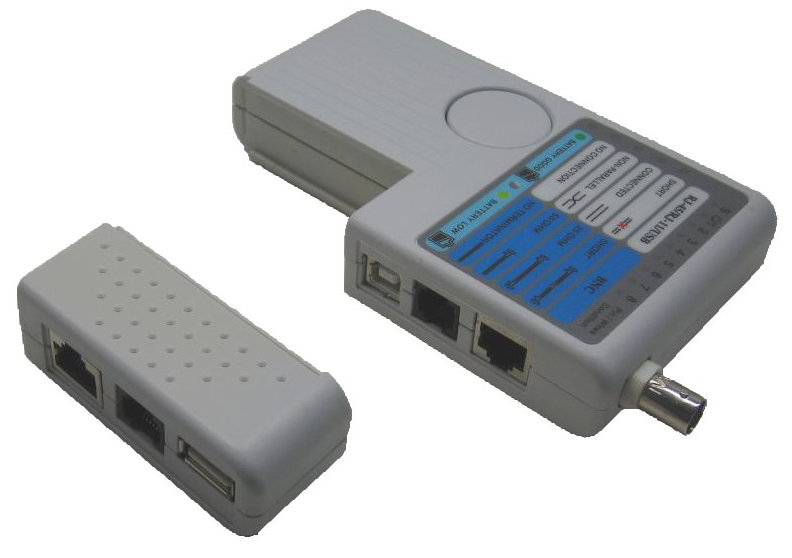
Finally if you are going to be assembling a lot of these RJ45 connectors, it is definitely worth investing in a network cable tester, which will allow you to check long cable runs after you have installed them through the boat. The unit shown below is a typical example and has a detachable “Loop Back” module that you plug in to one end of the cable and then plug the other end in to the main tester and LEDs illuminate to tell you if the cable is OK. This same tester will also check USB and coax cables.


