


Our 4GConnect mobile internet system for boats, can be used on any mobile phone network and in most cases, you insert a registered Data SIM in to the unit and it works with the default settings. However, on some networks it is necessary to enter that mobile network’s “Access Point Name” (APN) settings before a data connection to the internet can be established.
This week, we were helping a US customer get his 4GConnect working on the AT&T network and we thought we would document the process on here, to help other US customers who wish to get a 4G/LTE internet connection on their boat.
Step 1
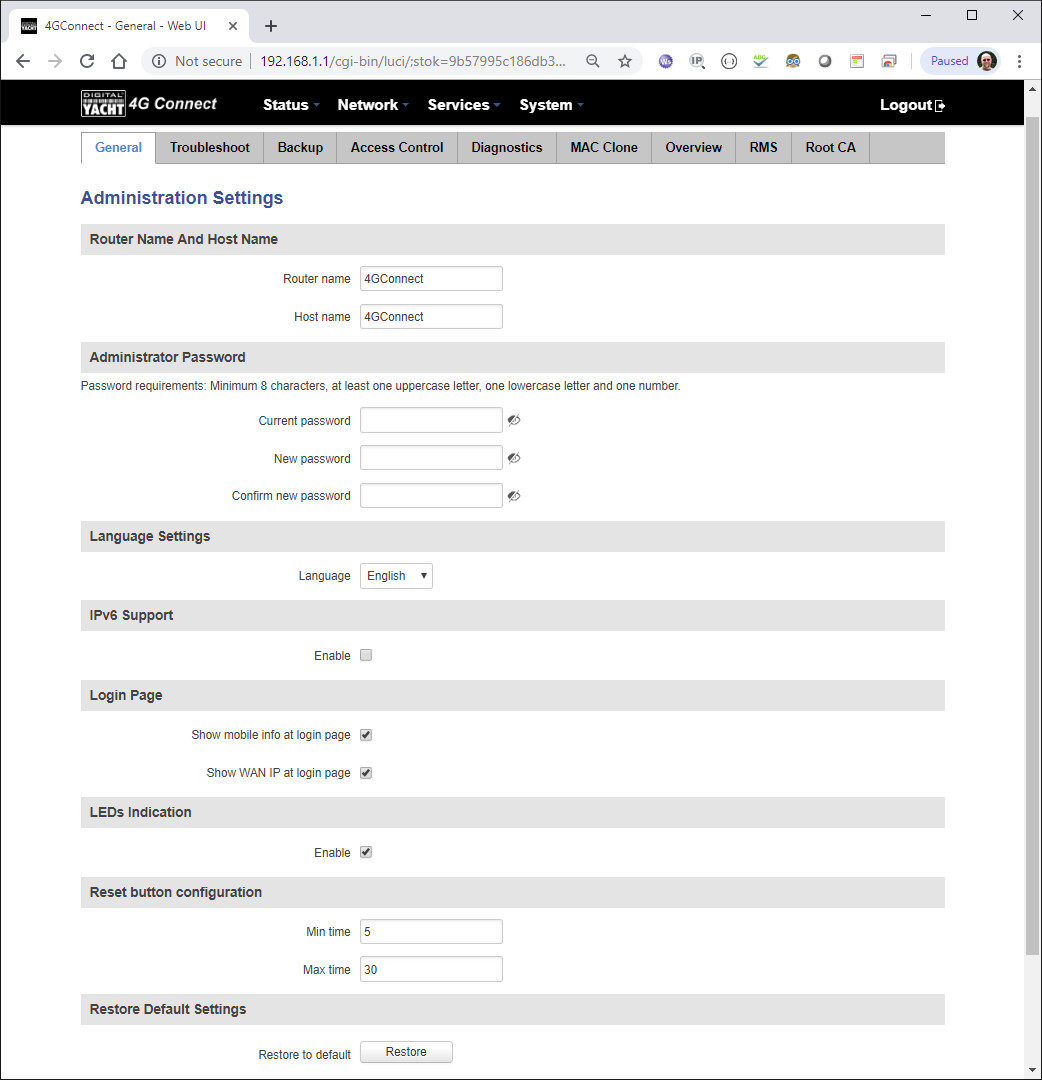
Make sure you have the latest firmware (Version 01.03.02), displayed under the top right corner of the black header bar, as shown below. Please ignore the “FW update available” message, as there are constantly updates being published for the router operating system we use, but we only test and release Long Term Support versions of the firmware so that everything is stable and no unexpected changes occur…

Step 2
Go to System>Administration and at the bottom of the General Tab page, click the Restore button to restore to factory defaults, this ensures that any changes you may have made to try and get things working are reset and we start from a known state. After you click the Restore button and confirm you wish to continue, the 4GConnect will reset and reboot. The webpage will not automatically refresh, so after about 30-45secs, click the refresh button on your browser and you will be taken to the login page again. Login and then proceed to step 3…
Step 3
Finally you need to set the following AT&T specific, APN settings in the Network>Mobile page and then click the Save button. Key settings are the APN value to “Broadband” and the “IPv4 Only” and “Force LTE Enable” boxes need to be ticked….
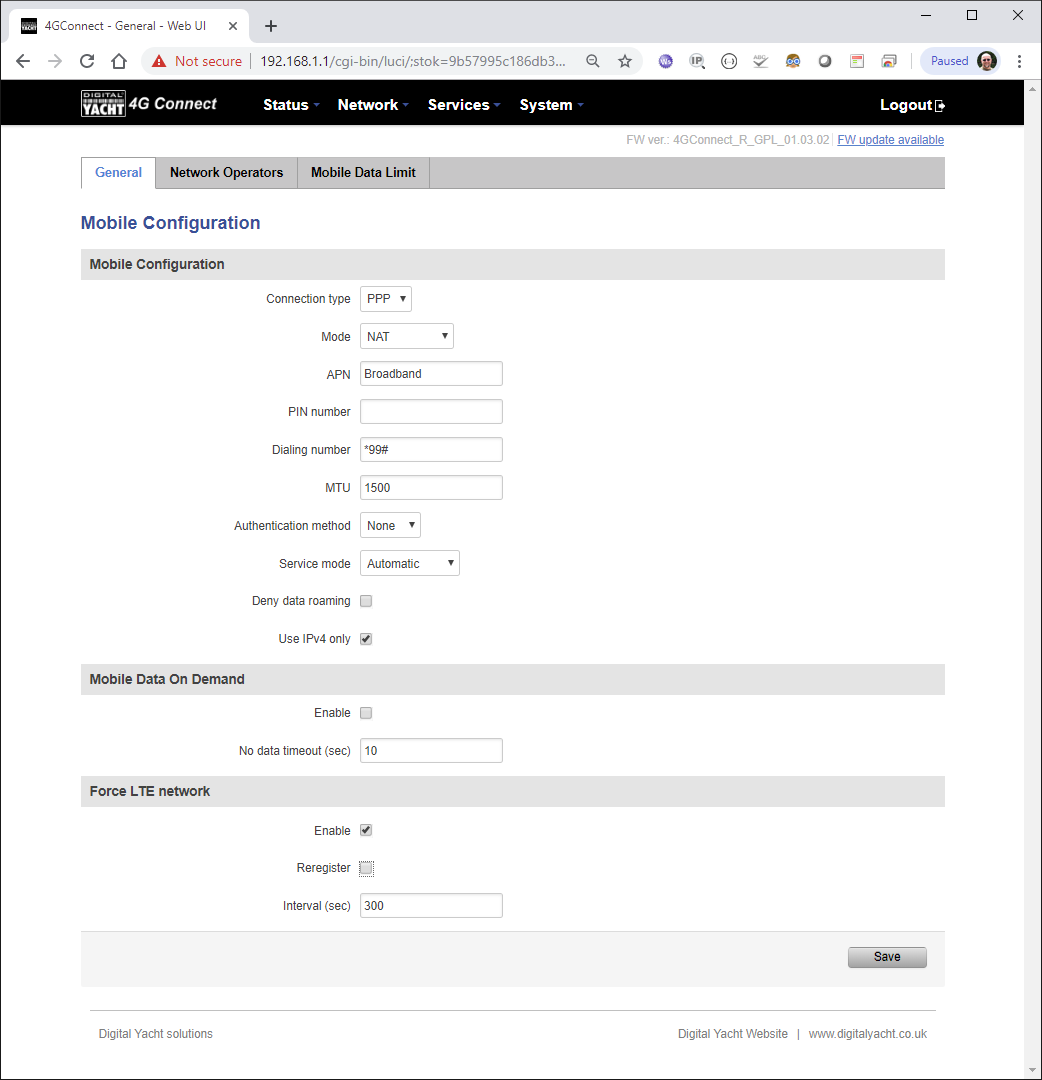
After you click the Save button, the 4GConnect will apply the new settings and reboot the modem. The webpage will not automatically refresh, so after about 30-45secs, click the refresh button on your browser and you will be taken to the login page again. Login and then check the main Status>Overview page and ensure you have a WAN IP Address and it says the Data Connection is connected.
You should now be online – happy surfing!
